Search This Blog

Pages

Monday, September 30, 2013

Painting Gourds, Third Stage


Stage 3: The Pears and  were coated with extender and then shaded with Red Violet and highlighted with Hansa Yellow Lt. More White added and highlighted a second time. The same for the Cherries and Strawberries. Plums and grapes were shaded with Red Violet and highlighted with Aquamarine and more white.

Leaves: I used two greens. Pine Green and Yellow Green Lt and white. I used my round brush for the leaves. I did some curly cues with the #2 liner brush and stippled some fru fru here and there (load the brush with some green, dip in white and stipple here and there).

I dried the Gourd with the hair dryer and put a coat of glazing medium all over it (dilute the medium with a little water.) When dry, I will added some final highlights and tints here and there. Remember, each highlight gets smaller and smaller, leaving the previous highlights showing.
 
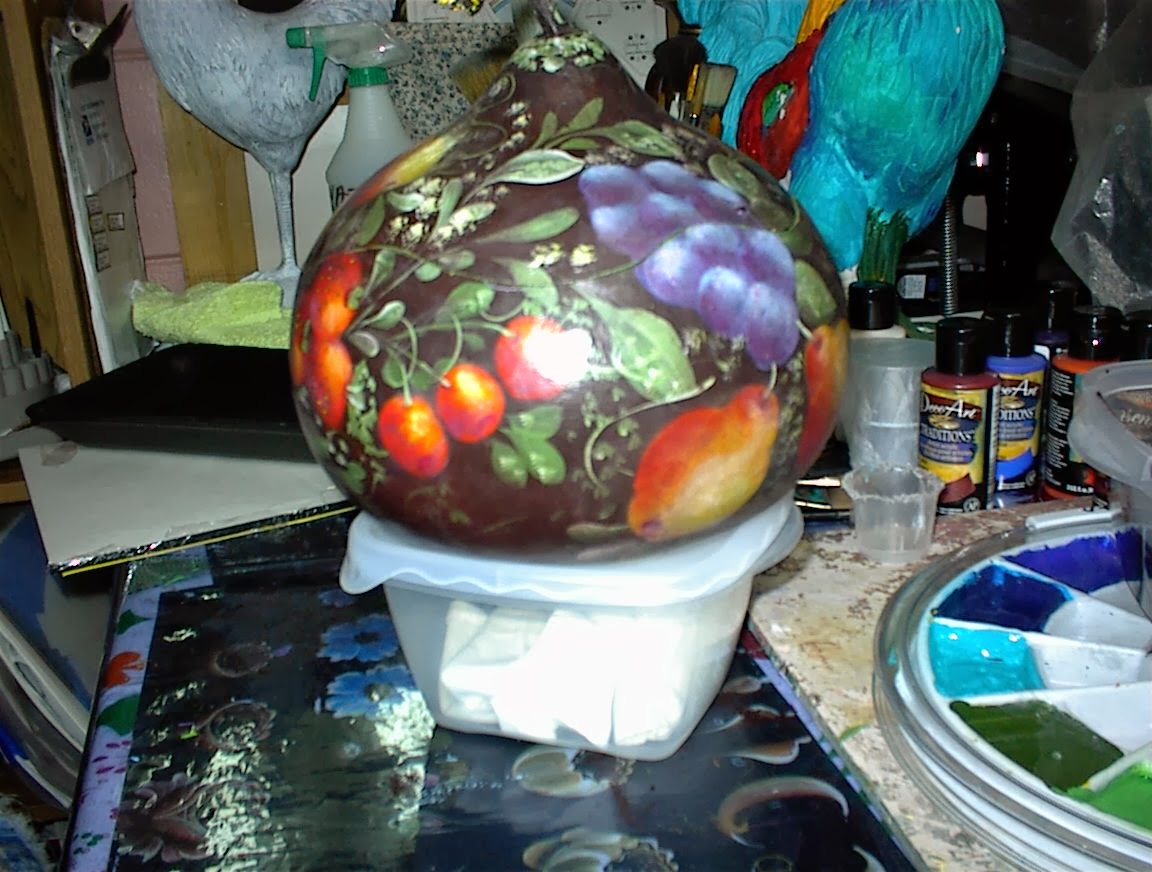
This is the results of all the above.


The fruit is nice and bright. The last stage is the antiquing. First I sealed the Gourd with the Multi Surface Sealer and let that dry overnight. Next, I mixed some Burnt Umber, added just a little Red Violet and black. The color should be mainly a reddish brown. .


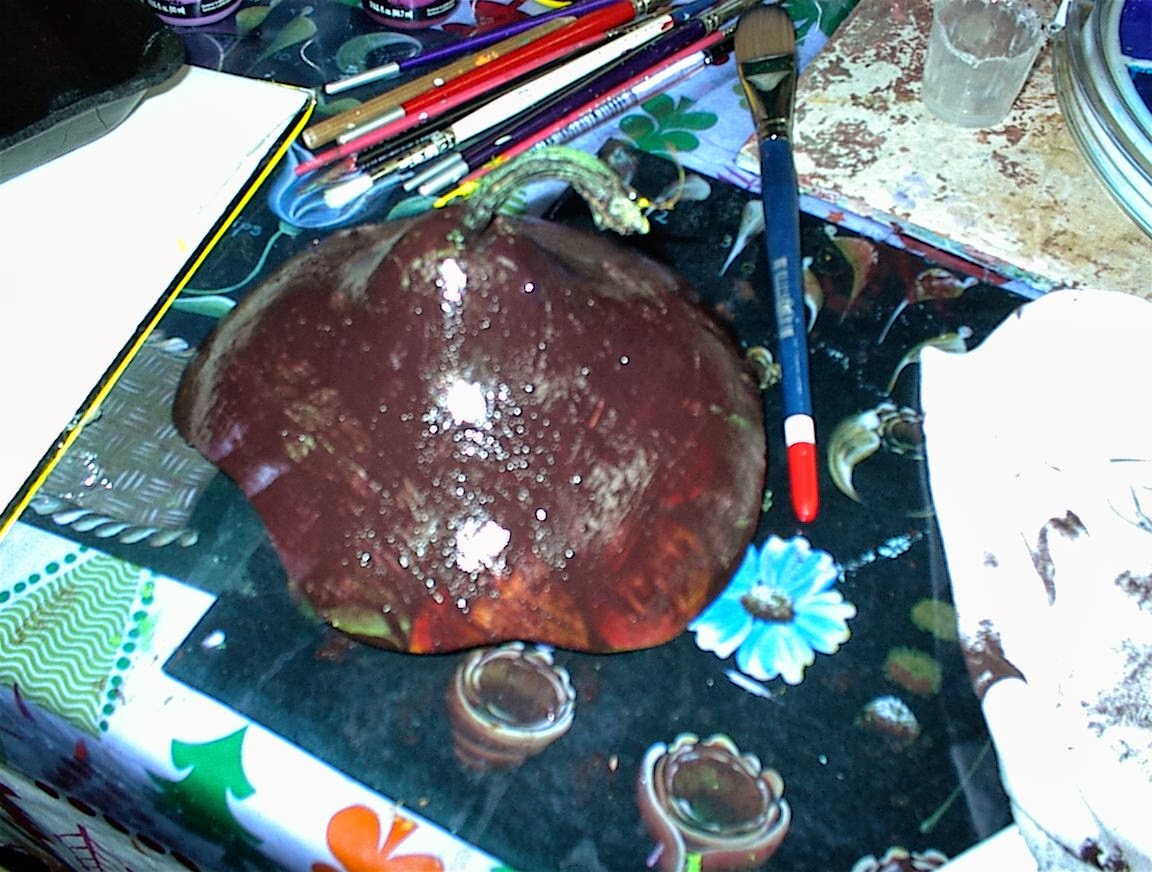
I coated the Gourd with Extender, wiped it down with a cotton cloth and brushed the antiquing color all over the top, then it was wiped down, making sure to change the cloth around to a clean spot. Then the highlights were wiped out. On the bottom of the Gourd, I antiqued it in sections. Below you can see how the fruit has a mellow look now.
 

I will let that cure for a couple of days and maybe dry with the hair dryer and then give it a couple coats of varnish.

Sunday, September 29, 2013

Painting Gourd, Second Stage


Second stage: I added some glazing medium to Sapphire Blue and a little water and pulled a wash over the plums and grapes. When this was dry, I pulled some extender over them and highlighted the plums and grapes with aquamarine+white and shaded with Burgundy. The shading and highlighting is not side loaded but instead is patted on and blended with the #6 filbert brush. I used my finger to pat here and there and it’s amazing how well the paint behaves, just like oils.

The Strawberries and cherries use the same technique. Highlight with Vermillion and then Hansa Yellow Light and shade with Burgundy.

I did the all the above at least twice. I will now add the leaves and some fru,fru, Glaze the whole Gourd, dry and add the final highlights and tints.

Saturday, September 28, 2013

Painting Gourds Continued


Painting Gourds continued. Ok here is what I did so far. First I drew a shape following line around the bowl, with lines branching off the main line. These lines are actually the branches for the fruits and leaves.


I then sketched some shapes of pears, grapes, plums, strawberries and cherries with a chalk pencil on the gourd. I am just filling it up to get back in shape with my painting.


I base-coated the shapes in Yellow Oxide for the pears, Napthal Red Light for the Cherries, Strawberries, and a mix of Dioxazine Purple and Light Violet (medium color) for the grapes and plums


Use the darker violet, the pic shows a lighter color on the Gourd,  but I have since gone over it with the darker violet.

I gave the fruit three coats. I will add the leaves and fru-fru when I finish the fruit.


Since I don’t’ know what colors I will be using in advance. I just pick it at the time when I need it, so just watch as I paint the Gourd and then you can get what you need. Cherries are just circles, Strawberries are like a heart shape with the point round off, plums are ovals and pears are a small and large circle with a connecting curve. I also have a couple lumpy pears lol
 
Remember it will ugly before it gets pretty lol.


To be continued


Wednesday, September 25, 2013

Painting Gourds


I am going to be doing some fun painting on Gourds within the next few weeks and doing a little tutorial for you as I go along, so you can paint along with me.

Gourds go way back and were used by primitive people for eating and drinking vessels. Gourds are also called, “Calabash.” You can put a towel inside them and add biscuits or tortillas to keep them warm. Gourds are useful and decorative.  Fill them with candy, homemade cookies etc. and give as gifts.

 I will list some of the supplies that I will be using, so get you some supplies and get ready to have some fun. You can buy Gourds on the web or locally.


I will be using the, “Traditions” paint line from DecoArt and some of the mediums that go with this line. You can get the starter kit that’s on the site right now. Also you will need a bottle of Varnish, Multi-Surface Sealer and Blender/extender mediums.
Optional: the Traditions brushes #6 and 8 filbert. These brushes have soft bristles and will do pat blending nicely.

http://www.traditionsartistacrylic.com/
http://www.decoart.com/

I will use my regular Americana line to do the first base-coat.

Add some Multi- surface (MS) sealer to any yellow Americana color. I used Marigold and some other yellow mix (any yellow will do). This is just to cover the brown Gourd. If you are not sure how much MS to use, just base-coat the gourd with one coat of the sealer and then do two base-coats of yellow.


I am never in a hurry so I let the gourds sit overnight (you can dry with hair dryer and continue). I then made some mixes with the Traditions (your choice) and gave the gourds two coats, drying well between each coat. You can stipple some other color on top like I did on some of them. Let these sit over night before putting the pattern on.
 
We will use basic shapes to draw some fruit and leaves on the Gourds. You can search the web for coloring pages (If you really need a pattern). Search for, pears, grapes, apple shapes etc. We will keep it simple in the beginning.
 
The large Rooser you see has a basic base-coat and later on I will be painting on him also
 
Until the next post, get ready