
Another Diversion and a little memory trick.
There will be two post today to make up for a few days I missed lol. After I finished the B. S. I went back to working on Shakespeare I P. I did a lot of sewing and got distracted again while reading the Quilt Board.
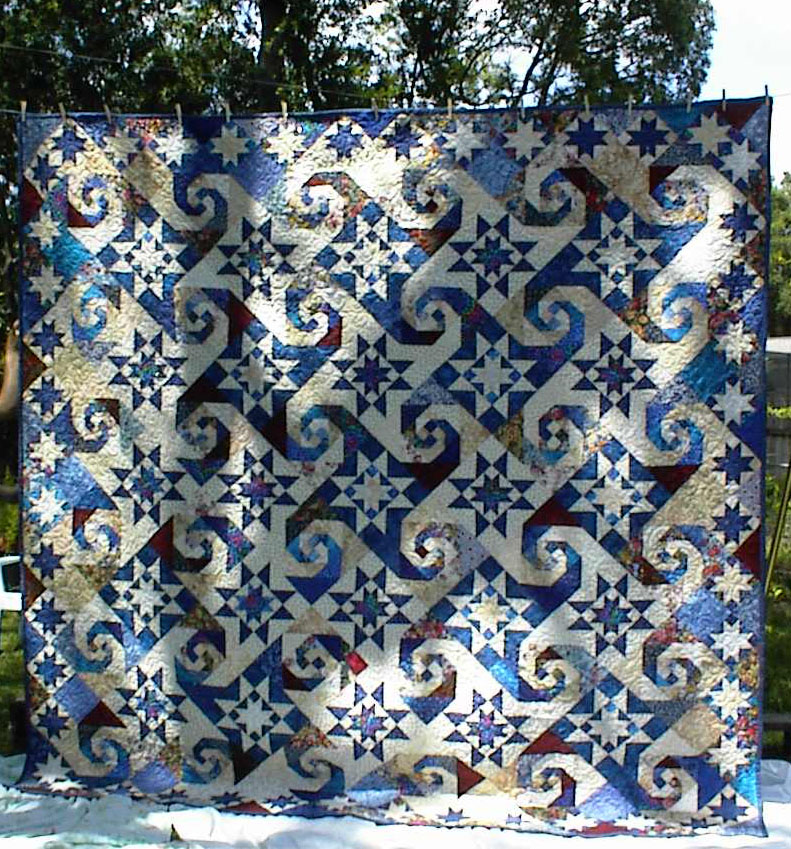
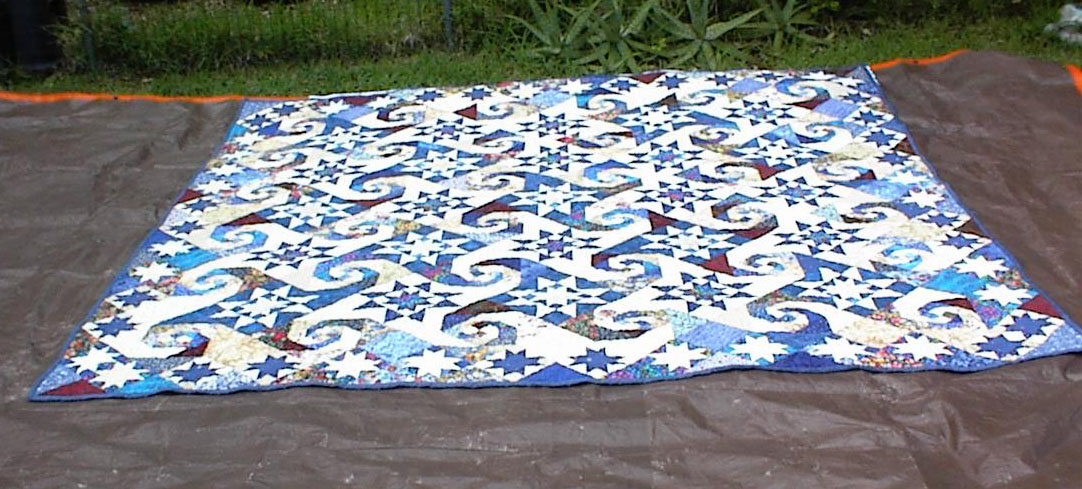
I saw this Charm quilt and loved it and decided that would be my current diversion lol.
You can go to the following link, print out the color pic for reference of placement and if you join the site, you can download the specs.
http://www.allpeoplequilt.com/magazines/americanpatchworkquilting/charming-addition-size-chart_1.html
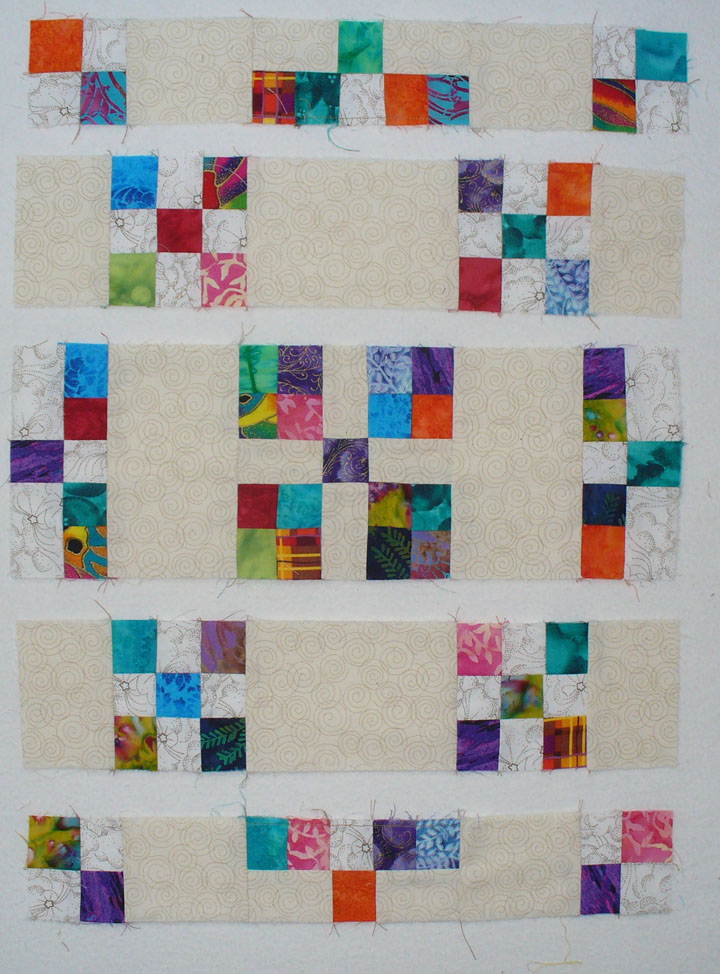
Anyway, I cut 360, 2.5 squares, all out of my scrap bin. It can get real confusing if you don't have a method, so here is my little memory trick from a childhood joke.
Two little candy thieves were in the cemetery counting out the candy they stole (at night). They had an odd number of candies, so they left one outside the gate and whoever got to it first, would claim it. They were sharing it out saying, one for you and one for me etc. A couple kids were passing and heard them. The one kid said, looks like God and the Devil are sharing out souls... One for you and one for me , and now for the one outside. Well needless to say, those kids ran like the wind.
Now back to my method of placing the squares. I studied the set up and decided that starting from the left, would be a T, then a Cross, and then one outside, a T a Cross, one outside and so on and this helps me to get it right. Now when going down the side on the right, it's the same as the top and this is where the other half will join as this is only one half of the quilt.
On the left of the quilt, it's one outside, then a T, one outside, a cross, a T, one outside and so on. Bear in mind that I am looking at the side squares with the T's and the Crosses going to the inside. I will up load pics.
I don't just go across one row, I do the right side and the start building the Crosses right away so I can see what they look like and change. I go all the way to the right and build that line and so on.
In the first pic you see the one outside and a T. The second pic shows the Cross added and the fourth pic shows the one outside.


To continue, the first pic shows some more placement, the second pic shows more building in the middle or wherever I needed a Cross... The T's and outside squares only go on the sides and top so the rest you know is just Crosses and it's a lot of fun once you have you method down, of course it helps to have that colored pic.
The third pic shows where I am now, I will start the sewing before I cut some more to place as I don't want to lose what I have so far, they could all fall off the board lol.
The fourth pic shows the squares cut and on a plastic sheet for ease of carrying.


I took down six rows down and eight across. I put these on my plastic palette and being real careful of the fan lol, I start to speed sew the squares this way. I will only speed sew one row at a time.
I start at the end by me, on the right. Fold over the last square over the next one, sew....do the next two etc. I do the 4's and the set of 4's. Then when I clip them apart, the first one I clip goes to spot 1 on the left and so on. Then I do row 2 and so on. This way, you will be able to see that they match. After I finish that section, I take down another besides it. ...so in all I have taken down three sections of 8 across and six down. I haven't sewed the rows together yet.
The first pic shows the squares the way the appeared on the board on my tray.
The second pic shows the 8x6 section of squares sewed together.
The third pic show the top section of 6x24.


I forgot to mention that each Cross takes 5 squares, except for the sides and top and bottom, those take four. When I cut the squares out, the odd ones that were left, I put those in a different pile and used those for the one outside, as they don't have to match anything.
I sewed one section all together to see how large it was. It measure 50 inches. I would like it to be at least 60 or a little more...60x60 is a nice size.
It is important to always leave two or three rows undone so you know where you left off. I will make another 12 inch piece to add to the side of the finished one and will continue that amount on the undone rows also. I had to check to make sure that I had some of the same fabrics left to finish the side blocks and I did wheeeeee
I cut a punch more squares, as I ran out lol. and more 2.5 strips to cut now. I can't imagine how much scrap I have in that bin. It is amazing how many free quilts are in there. When you think, that it cost about 100.00 to make a quilt top...yet when you make a scrap quilt out of the bin, it is so satisfying and if you were in the market to sell quilts, I bet you get more for the scrap, than the planned quilt lol.

Ok, I finished that one piece of 60 by 48, now I will make a 12x60piece and add to the side. I love this quilt. I will be using just what's left of the squares and only cut more if I have to.

I have just finished the top. It is now 60x60. a nice wall hanging. Here are some pointers for those who would like to do this quilt, for a 60x60 with 2.5 inch squares.
1. Try to lay the entire quilt on your board before sewing.
2. Sew the quilt in blocks of 10x10 across the quilt, in other words, 10 squares down and 10 squares across. That is if you are making a 60x60 size, Sew the squares in rows across and then sew the row together to form one 10 x10 block (the block will actually measure 10.5 for the seam allowance).
3. Block each block of 10x10 by spraying with starch and steam with up and down motion into a 10 1/2x10 1/2 block, this will make sure that your quilt is square.
4. You then have your choice of sewing the large blocks in rows across and joining the rows or sewing them down in sections and then joining sections.
5. I will add a 1 inch border, cut on the straight of grain, so it will end up being 1/2 ins. This is to keep the quilt square. I will add another pic after it is quilted and bound.
This was a fun quilt to do and a great diversion for me. Now I must get back to SIP and finished that, this weekend.
Here is something neat about this quilt. As I am looking at it, I see a bunch of pink, blue, red, green crosses, these are from my friend Sandy. Then there are some greeny, peachy, pinky, yellow small prints and those are from my friend Karan in S, Carolina and then a few from my friend Elaine. So to conclude, I seem to have a bunch of friends in all my scrap quilts lol.
.


