Monday, April 30, 2018
Monday, September 12, 2016
Time for another post lol.
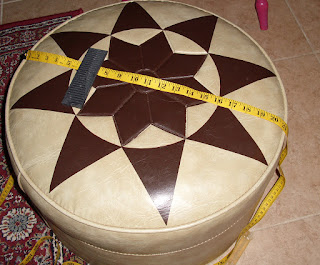


Hassock/Tuffet
I have seen these Tuffets all over the web and decided to do my Hassock for a start. Here is what I have done so far.


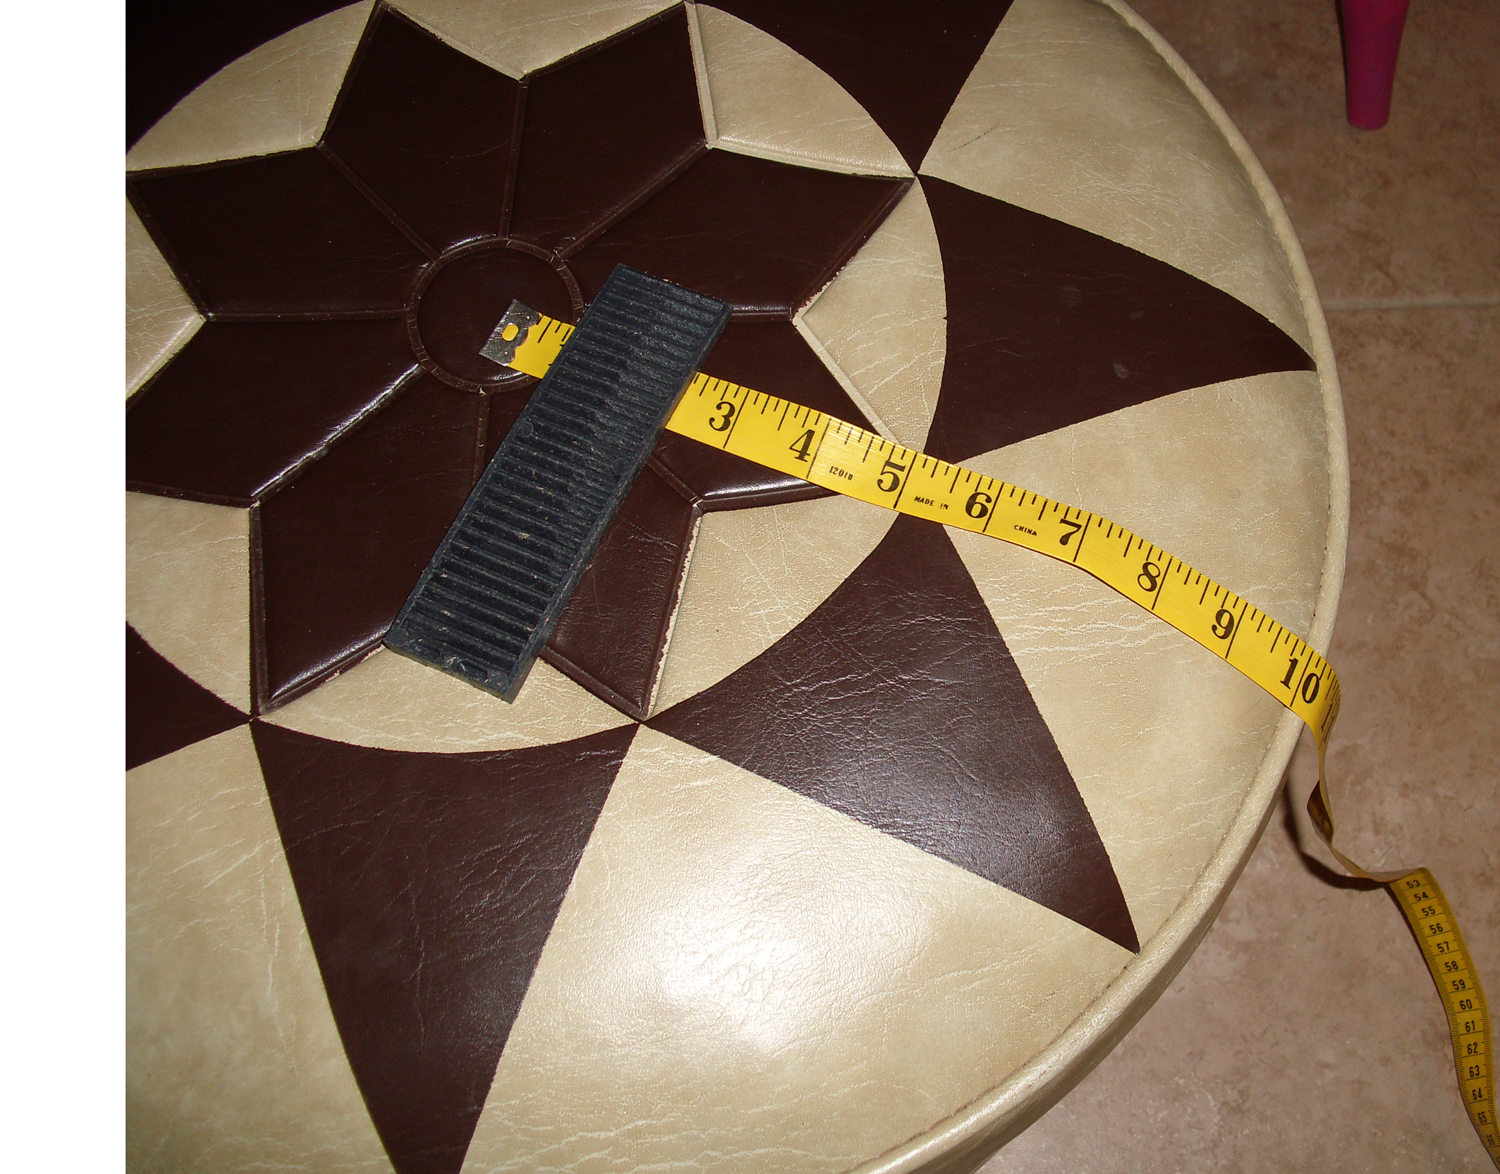


1..Measure across the top of hassock or tuffet or whatever.
divided that measurement in half and that is your radius.
2..measure from the edge of the hassock to the bottom and
add about 4 ins. for turning under.
3..measure around the hassock for the for the circumference,
and divide that measurement by 8, This will be the measurement of your wedge.
.add 3/4 ins on each side for the seams.
Add your radius #1 plus #2 and cut a piece of square paper
that measurement plus a little over for safety.
The width of the paper will be the measurement you got from
the wedge plus the 1 and 1/2 ins for the seams. ..so if your wedge is 10 ins,
you will add 1 and 1/2 for a total of 11 1/2 ins for your wedge.
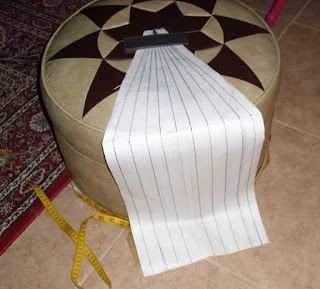
Fold the paper in half to get the center line. Put a dot at
the beginning of that line at the top. Now measure from the top of the paper to
the radius number and place a mark. Draw a line across the paper square from
edge to edge. Draw ¾ seam allowance along both edges of the paper square.
Divide the rest of your paper square into 8 strips, not
including the seam allowances. The strips don’t have to be equal. Start at the
center seam. On each side of the seam draw a half ins line, that will make that
strip 1 ins. Then draw lines on each side of this center strip. Only draw the
lines up to the radius line.
After all these line are drawn, the proceed to line up those
bottom line with the rest of the pattern. For instance..place ruler at the line
and angle your ruler to the dot at the top of the paper square and continue
with each line this way. Then cut the excess paper and you have your wedge. Lay
this on your item to check it out and make adjustments to whatever you want.
When you are happy with it, make a freezer paper pattern from you original
paper pattern but this time draw the lines with a sharpie pen.
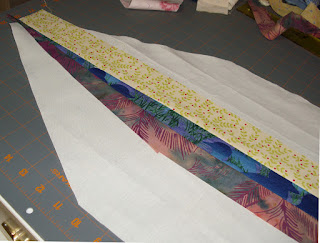
You will iron that freezer pattern to your muslin and cut it
out, draw the lines on the muslin, just like your paper. You are now ready to
add your strips. When you start to sew the strips on and you come to the radius
point, just try to sew it like a curve.
Monday, September 21, 2015
Rag Puppy Quilt
Hello, I'm back with a fun article.
I just finished this Rag Puppy quilt. Here he is with his ears down and then pinned back so you can see his whole face. I made him entirely of flannel and used as many prints as I could. He measures 60 inches long by 50 inches from paw to paw. His exact measurements are....chest 31, hips 33, he has no waist what-so-ever lol.
He was a lot of fun to make and some kid will hug up with him by the end of this month. He is so cuddly that I am loathe to let him go. His nose and eyes are sewed on by machine, I don't applique. Then I used some Decoart SoSoft Fabric paint to add the highlights to the eyes, I used an Identi-pen to go over the smile lines. .
I washed him and dried him to make him rag up. The more you wash him the more his edges will rag up. If you turn him over, he has different fabric behind also. I might paint a cat face on that side.
This is a Simplicity pattern that is out of print now.


Tuesday, July 14, 2015
Renewing the Blog
I am coming back to my blog. I will be posting most of my stuff here. I know it will take time for my friends to come back and that's ok. Facebook is fine but the blog was always a good thing. I will be back tomorrow with new stuff....food, knitting, quilts etc...
Thursday, January 22, 2015
AFRICAN FLOWER CROCHET BULLDOG


Hello Bloggers, it’s been a while since I posted on here, so
I thought I would return now and then for those of you who don’t do Facebook
lol.
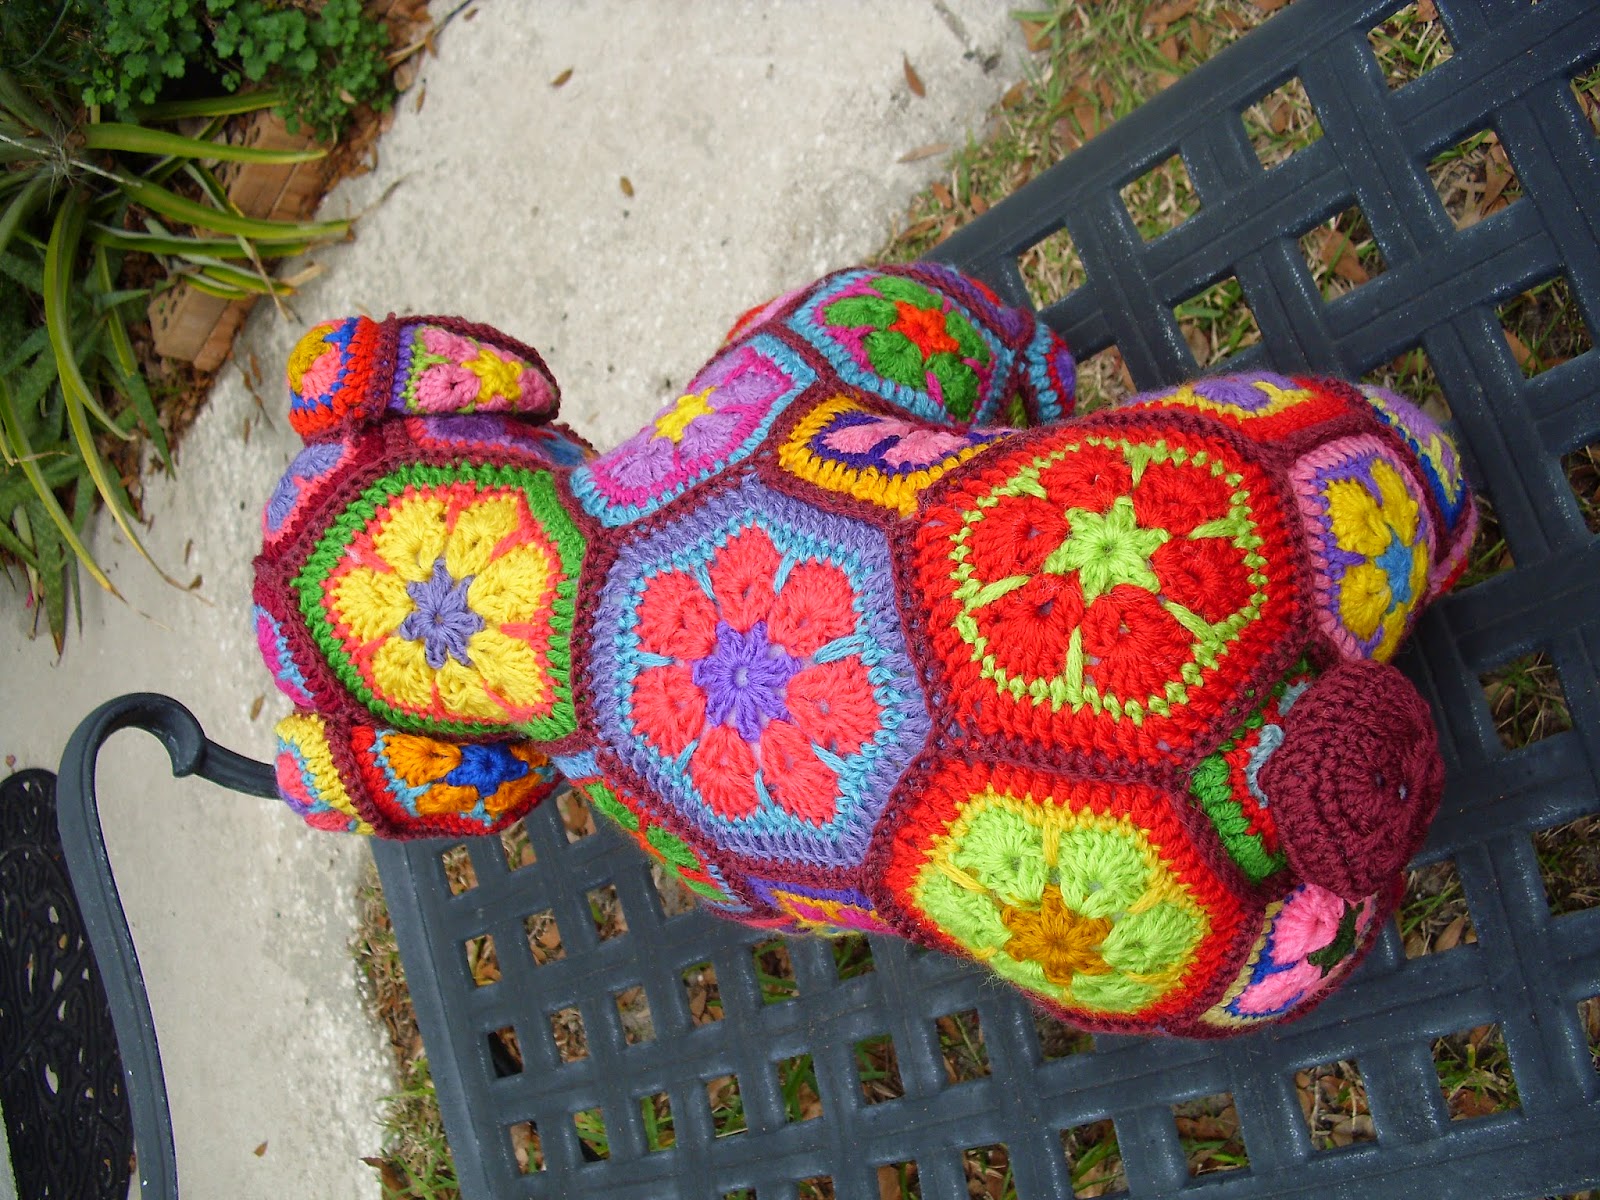
This is Max, a beautiful, colorful, African Flower Bulldog. He
is crochet using the African Flower Motif, not a granny square. He is made
with, hexagons, pentagons, triangles, octagons, squares, and the seven petal
one…..
I know he looks complicated but he is very doable. The instructions
and illustrations are excellent. Anyone who crochets can do this. The designer
for this pattern is, Heidi’s Bears.
I will show you several areas of his body so you can see how
he comes together. He is bigger than the pattern because I don’t listen very
well lol.
He is supposed to be made with fingering yarn and a 1.75
crochet hook but I had all this needle point yarn and had to use a larger
needle, so there you have it.
I love him! I love his large size, he make a statement and
sure shows of all my lovely colors.
Subscribe to:
Posts (Atom)


